
There are many methods which can be used to cook corn on the cob. Unlike traditional methods where you had to dip your fresh corn in a boiling pot then wait for hours for it to cook, new and advanced methods of cooking corn using a microwave have been introduced. Ever since people introduced these methods, the microwave has become an important tool which every corn lover must have to ensure that they can cook a few ears of corns for their family every week.
There are different methods which you can use to microwave corn on the cob. Each of these methods takes a certain time period to cook your corn in the microwave. Some of these methods involve wrapping your corn with wax paper, wrapping the cob with a plastic wrap then applying salt and butter before microwaving, adding a tablespoon of olive oil to your corn, a tablespoon of garlic, Dijon mustard, brown sugar and lemon juice before microwaving and adding water, a quart of milk, tablespoons of butter, sugar, salt and red pepper flakes before microwaving among many others.
While naming just a few, there are many other different methods of microwaving corn on the cob for you to choose from. To ensure that you choose the right method which will get the job done fast and easily while achieving great results, this article will give you a step-by-step guide of the best method to consider if you wish to achieve outstanding results in the long run.
How To Microwave Corn On The Cob – The Best Methods
While there are many different methods in the pipeline which you can use to microwave corn on the cob, we have researched and found one method which can be used to achieve the desired results fast and easily. This method allows you to microwave your corn while leaving the husk untouched. Through following these steps carefully, you will be able to achieve outstanding results within a few minutes.
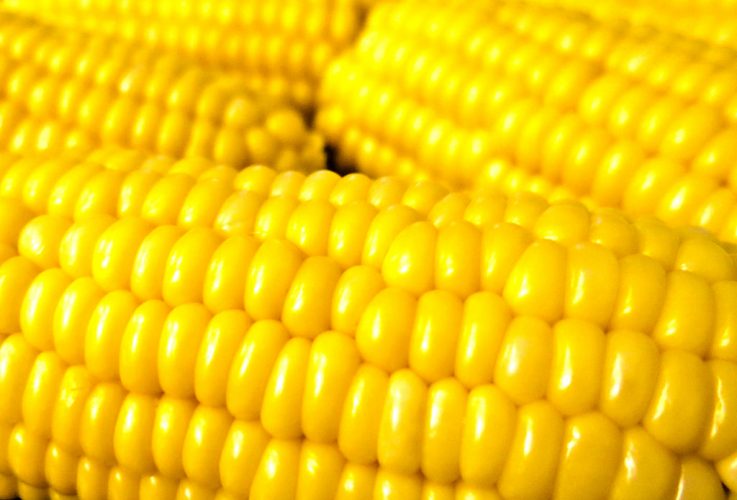
Step 1: Select fresh corn with the husk still on – you can find fresh ears of corn in grocery stores, farmer’s markets or you can grow your own. Ensure that the ears are fresh, ripe and still have the husk on. To test for ripeness, look for those corn whose tassels or strings are brown and sticky instead of being brown and dry. If you’re growing them yourself, ensure that you refrigerate your corn after harvesting to prevent the sugar in the kernels from being starchy and overripe.
Step 2: Trim the corn if necessary – if the husks are too long, you may need to trim them so that the corn can fit in your microwave. You can also remove dry leaves or excess silk from the corn to make it neater. At this point, you may also need to use a damp or wet cloth to wipe the dirt and dust from the leaves before microwaving.
Step 3: Place the ears in the microwave – an ordinary microwave may fit about three ears at a time. There are, however, other, larger models of microwaves which may fit a few more ears. To ensure that the ears cook evenly, each corn should not touch the other and should be near the centre of the microwave.
Step 4: Microwave the corn – microwave your corn for about 3-5 minutes. If you only have one ear, you can microwave it for three minutes but if you have four or more ears, you can microwave them for up to five minutes. Note that if you’re microwaving four or more ears at the same time, it’s advisable to stop the cooking halfway to turn the corn over for an even cooking.
Step 5: Remove the corn from the microwave – when cooking is done, remove the corn from the microwave and leave it for some time to cool. Remember; since the corn is fresh, the husk may contain steaming water which can easily burn you. It’s therefore advisable to use a pair of tongs or wait for the corn to cool down before removing the husk.
Step 6: Dress your corn – you can roll your corn with butter or sprinkle pepper, salt or some grated cheddar to make it more delicious. At this point, your corn is ready to be eaten. You can either decide to eat it raw or use it in another recipe if you like.
Tips to ensure that you achieve the best results
As stated above, when using this method to microwave your corn, set your microwave on HIGH for three to five minutes depending with the number of ears. To achieve more high-end results, you can decide to align the ears in a square or triangle arrangement to keep them separate so that they can cook uniformly.
Depending with how you wish to eat your corn, there is a wide array of flavors to choose from such as melted butter, olive oil, minced garlic, Dijon mustard, brown sugar, lemon juice, soy saurce, milk, maple syrup and red pepper flakes among many others.
To achieve the best results when microwaving corn on the cob, it’s advisable to combine both the microwave and convection functions. Microwave cooking uses short, high-frequency waves which creates heat and cooks your food much faster than regular methods. On the other hand, convection cooking circulates hot air around your food in a constant uniform motion, browning your food and adding flavor.
Therefore, using a combination of microwave and convection cooking on your corn will lead to more desired results since your corn on the cob will cook much faster, more evenly and end up with the desired flavor.
Conclusion
There are many other different methods of microwaving corn on the cob. Another common method which most people prefer using is where you shuck the husk and silk from your corn, after which you add some flavor then cover the corn with a paper towel before microwaving. After five minutes, remove your corn from the microwave, season it with butter and sprinkle some grated cheddar on it before consumption.
Depending on which method you prefer using, through following these simple steps, you’ll be able to microwave your corn on the cob faster and without experiencing any difficulties.


